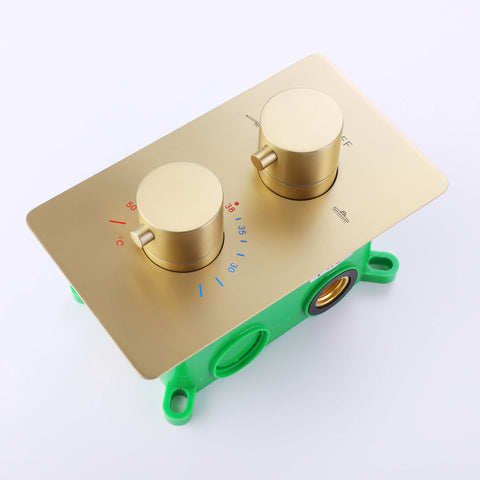
How to Replace the Cartridge of a Thermostatic Shower System?
Tools and Materials You'll Need
Before we dive into the replacement process, gather the following tools and materials:
- Replacement cartridge (ensure it's compatible with your shower system)
- Adjustable wrench or pliers
- Screwdriver
- Allen wrench (if required)
- Clean cloth or rag
- Teflon tape (optional)
Safety Precautions
Safety is paramount when working with any plumbing system. Always take the following precautions before starting:
- Turn off the water supply to the shower at the main water shut-off valve
- Confirm that the water is completely turned off by turning on the shower faucets and allowing any remaining water to drain.
- Wear protective eyewear to shield your eyes from any debris that may dislodge during the process.
Step-by-Step Guide to Replacing the Cartridge
1. Identify and Remove the Handle
- Depending on your shower system's design, the handle may be secured with a screw or set screw. Use a screwdriver or Allen wrench to remove it.
- Carefully pull the handle off the cartridge stem, exposing the cartridge itself.
2. Remove the Trim Plate
- If your shower system has a trim plate covering the cartridge, gently pry it off using a screwdriver.
- This step may not apply to all shower systems, as some have the cartridge exposed from the outset.
3. Remove the Cartridge
- The cartridge is typically held in place with a retaining nut. Use an adjustable wrench or pliers to carefully loosen and remove this nut.
- As you remove the nut, be prepared for some water to leak out, so have a cloth or rag handy.
- Once the nut is removed, you can pull the cartridge out of the valve body. Pay attention to the orientation of the cartridge as you do this.
4. Inspect and Prepare the New Cartridge
- Before installing the new cartridge, inspect it to ensure it matches the old one in terms of size and design.
- Apply a thin layer of food-grade silicone grease to the O-rings on the new cartridge. This will help with lubrication and ensure a watertight seal.
5. Install the New Cartridge
- Carefully insert the new cartridge into the valve body, aligning it correctly with the water inlet and outlet ports.
- Hand-tighten the retaining nut onto the cartridge to secure it in place.
6. Reassemble the Trim and Handle
- If you removed a trim plate, reattach it to the valve body.
- Slide the shower handle back onto the cartridge stem and secure it with the screw or set screw you removed earlier.
7. Turn on the Water Supply
- Gradually turn the water supply back on at the main shut-off valve.
- Allow the water to flow through the system and check for any leaks around the cartridge.
8. Test the Temperature
- Turn on the shower and test the temperature to ensure it's consistent and comfortable.
- Adjust the temperature settings if necessary by adjusting the handle or temperature control knob.
Conclusion
Replacing the cartridge in your thermostatic shower system is a manageable DIY project that can help maintain your shower's performance and comfort. By following the steps outlined in this guide and taking appropriate safety precautions, you can successfully replace the cartridge and continue to enjoy the perfect shower temperature. If you encounter any challenges or if you're not comfortable with the process, don't hesitate to seek professional plumbing assistance.


